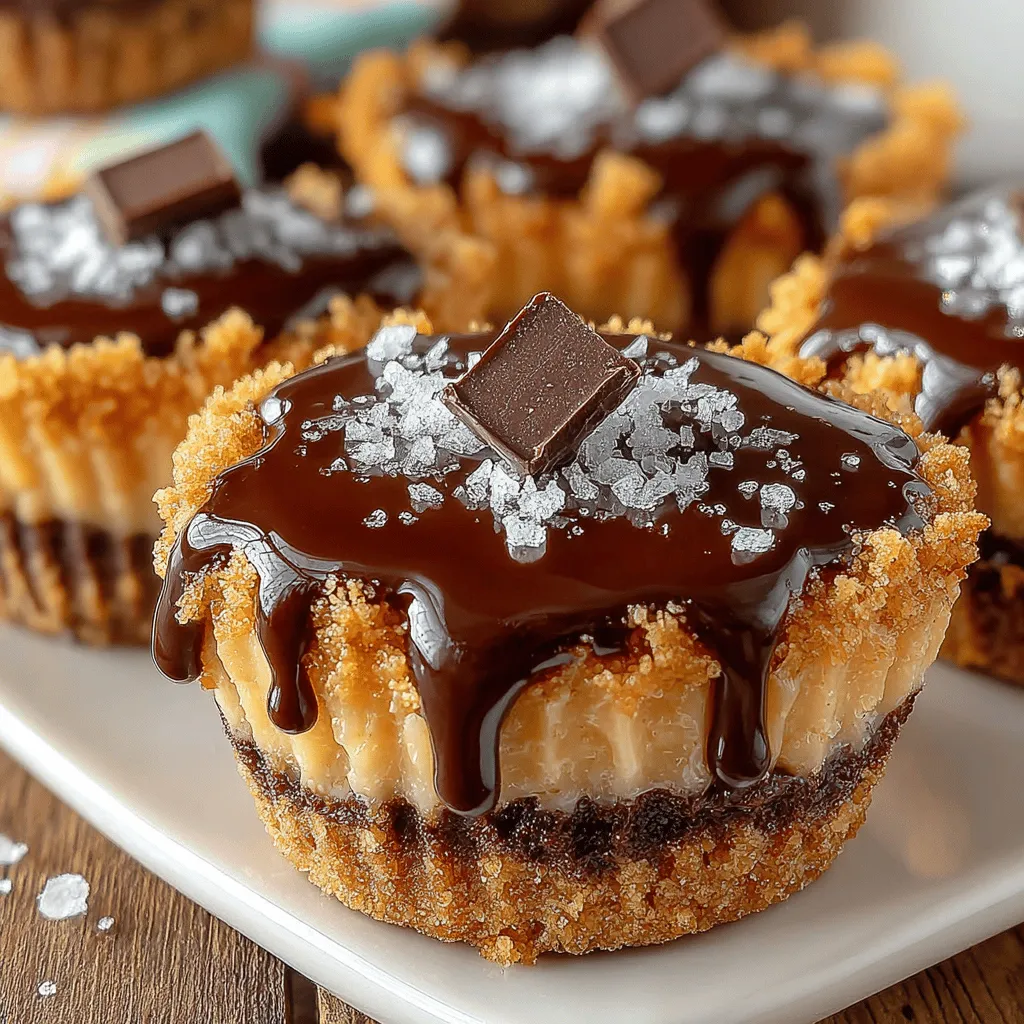
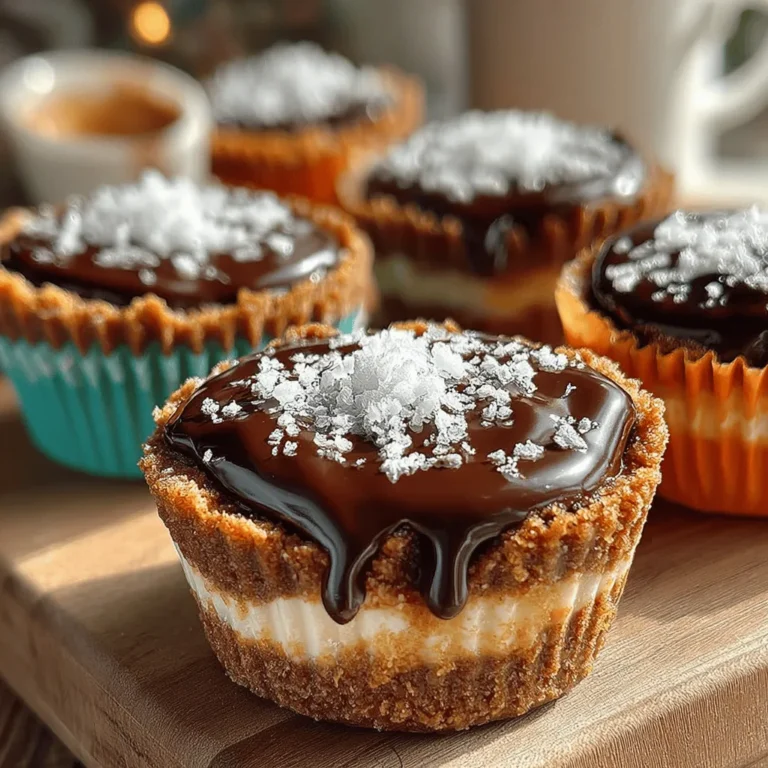
Decadent No-Bake Peanut Butter Cups Recipe
In recent years, no-bake desserts have surged in popularity, captivating dessert lovers with their simplicity and delightful flavors. These treats are especially appealing during warmer months or when you’re short on time and energy; they require minimal effort and no oven preheating. Among the myriad of no-bake options, peanut butter cups stand out as a timeless classic, combining the rich, nutty taste of peanut butter with the indulgent sweetness of chocolate.
Imagine sinking your teeth into a creamy, velvety cup filled with smooth peanut butter, perfectly balanced by a luscious chocolate coating. What could be more satisfying? This no-bake peanut butter cup recipe not only promises an explosion of flavors but also offers a straightforward approach that even novice bakers can master. With just a handful of ingredients and minimal preparation time, you can whip up a batch of these decadent treats that are perfect for satisfying cravings or impressing guests at your next gathering.
Understanding the Ingredients
To achieve the perfect no-bake peanut butter cups, it’s essential to understand the role of each ingredient in the recipe. This knowledge not only enhances the overall flavor but also ensures that your treats turn out perfectly every time.
1. Creamy Peanut Butter: The star of this recipe, creamy peanut butter provides a rich and nutty flavor that is essential for the filling. For the best results, opt for natural, unsweetened peanut butter. This choice not only enhances the flavor profile but also eliminates added sugars and unhealthy oils often found in processed versions. Natural peanut butter typically contains just peanuts and salt, offering a wholesome option that doesn’t compromise on taste.
2. Powdered Sugar: This ingredient plays a crucial role in balancing the rich flavor of peanut butter with sweetness. The fine texture of powdered sugar allows for easy incorporation into the peanut butter mixture, ensuring a smooth and creamy consistency. It also helps to thicken the filling slightly, creating a delightful contrast to the silky chocolate coating.
3. Vanilla Extract: A touch of vanilla extract elevates the overall flavor profile of your peanut butter cups. It adds depth and warmth, enhancing the natural flavors of the peanut butter and chocolate. Pure vanilla extract is recommended for its superior taste, but imitation vanilla can be used in a pinch.
4. Graham Cracker Crumbs: These crumbs contribute a delightful texture and crunch to the peanut butter filling. They help to bind the mixture together while adding a subtle sweetness and flavor reminiscent of classic dessert crusts. You can use store-bought crumbs or make your own by crushing whole graham crackers in a food processor.
5. Dark Chocolate Chips: Choosing between dark and milk chocolate can be a personal preference. Dark chocolate offers a more intense flavor and less sugar, which pairs beautifully with the sweetness of the peanut butter filling. Milk chocolate, on the other hand, provides a creamier, sweeter taste. Whichever you choose, high-quality chocolate chips are essential for achieving a smooth and glossy finish.
6. Coconut Oil vs. Unsalted Butter: Both coconut oil and unsalted butter can be used to help melt the chocolate and create a smooth coating. Coconut oil gives a slight tropical flavor and can make the chocolate layer a bit firmer when chilled, while unsalted butter adds a richness that complements the chocolate. Ultimately, the choice between the two depends on your dietary preferences and desired flavor profile.
Step-by-Step Instructions for Making Decadent No-Bake Peanut Butter Cups
Preparing the Peanut Butter Mixture
The first step in creating your no-bake peanut butter cups is to prepare the filling. Begin by gathering your key ingredients: creamy peanut butter, powdered sugar, vanilla extract, and graham cracker crumbs.
In a medium mixing bowl, combine one cup of creamy peanut butter with half a cup of powdered sugar. Begin mixing the two together using a spatula or a hand mixer on low speed, ensuring that the sugar is gradually incorporated into the peanut butter. This gradual process is crucial for achieving the right texture; if you add the sugar too quickly, it can create clumps that are difficult to break down.
Once the powdered sugar is well mixed into the peanut butter, add a teaspoon of vanilla extract for that extra flavor kick. Next, it’s time to incorporate the graham cracker crumbs. Start by adding about half a cup of the crumbs to the mixture. Mix thoroughly until everything is evenly combined. The goal is to create a thick, moldable mixture that holds together well without being too dry or crumbly. If the mixture appears too dry, you can add a bit more peanut butter, one tablespoon at a time, until you reach the desired consistency.
Melting the Chocolate
Now that your peanut butter filling is ready, it’s time to melt the chocolate. You’ll need about one and a half cups of dark chocolate chips for this step. To melt the chocolate safely and effectively, you can use a microwave or a double boiler. If you opt for the microwave, place the chocolate chips in a microwave-safe bowl and heat them in 30-second intervals. Stir well after each interval to prevent overheating. Be cautious not to overheat the chocolate, as it can seize up and become unusable.
Once the chocolate is fully melted and smooth, you can add a tablespoon of coconut oil or unsalted butter to enhance the consistency. Stir until well combined, ensuring that the chocolate remains glossy and fluid—this will be essential for coating your peanut butter cups.
Assembling the Cups
With both the filling and chocolate prepared, it’s time to assemble your decadent no-bake peanut butter cups. Begin by lining a muffin tin with cupcake liners. This will help you easily remove the cups once they set, while also providing a neat and tidy presentation.
Start by adding a thin layer of melted chocolate to the bottom of each liner, using a spoon to spread it evenly. This initial chocolate layer not only provides a foundation for the peanut butter filling but also enhances the overall flavor and texture of the final product. It’s important to allow this layer to set slightly before adding the peanut butter mixture.
After the chocolate layer has firmed up a bit, take spoonfuls of the peanut butter filling and place them on top of the chocolate in each cup. Gently flatten the filling to create an even layer. Finally, pour the remaining melted chocolate over the top of each filled cup, ensuring that the peanut butter is completely covered. This final layer seals in the deliciousness and gives your cups that iconic look.
As you prepare to chill your no-bake peanut butter cups in the refrigerator, you can already anticipate the delightful combination of flavors and textures that awaits. The creamy peanut butter, the sweet graham cracker crunch, and the rich chocolate will create an irresistible treat that is sure to please anyone who takes a bite.
Stay tuned for the next part of this recipe, where we’ll discuss the chilling process and how to perfectly store and serve your decadent no-bake peanut butter cups!

Adding the Peanut Butter Layer
Creating the peanut butter layer is the heart of this no-bake peanut butter cup recipe. To achieve the perfect texture and flavor, combine your peanut butter with powdered sugar and a pinch of salt in a mixing bowl. The powdered sugar not only sweetens the mixture but also helps create a thicker consistency that holds its shape when layered.
Once well mixed, it’s time to shape the peanut butter mixture. Using a small cookie scoop or your hands, take portions of the mixture and roll them into balls. This helps in achieving uniform sizes, allowing for even layering in the chocolate cups.
When placing the peanut butter balls into the chocolate-lined molds, it’s crucial to press down gently but firmly. This will help to flatten the balls without causing the chocolate layer to overflow. The aim is to create a solid peanut butter layer that is about half the height of your chocolate base, ensuring a balanced ratio of chocolate to peanut butter in every bite.
Topping with More Chocolate
With the peanut butter layer in place, it’s time to top it off with more melted chocolate. First, melt your chocolate using a double boiler or microwave, ensuring it’s silky smooth. The key to achieving a professional finish lies in the even coverage of the peanut butter layer.
Using a spoon or a small spatula, carefully pour the melted chocolate over the peanut butter layer, making sure to cover it completely. This not only seals the peanut butter but also adds to the aesthetic appeal of your treats. To achieve a smooth finish, tilt the molds slightly and gently tap them on the counter. This helps to settle the chocolate and eliminates any air bubbles.
If you want to take your chocolate topping to the next level, consider adding a sprinkle of sea salt or a drizzle of white chocolate for a decorative touch. Once you’re satisfied with the coverage and appearance, place the molds in the refrigerator to set.
Final Setting Process
Chilling is a crucial step in the no-bake peanut butter cup process. Allow the filled molds to chill for at least 1-2 hours, or until the chocolate is fully hardened. The longer you chill, the firmer the cups will be, so patience is key.
To check if the chocolate is fully set, gently press down on the surface with your fingertip. If it feels solid and holds its shape, you’re ready to move on to the next step. If it gives slightly, give it a bit more time in the fridge.
Once set, carefully remove the peanut butter cups from the molds. If you’re using silicone molds, these should pop out easily. For metal or plastic molds, you may need to gently pull at the edges to release them.
Serving Suggestions and Storage Tips
These no-bake peanut butter cups are incredibly versatile and can be served in various delightful ways. They pair wonderfully with a cup of coffee, making for a perfect mid-afternoon snack. Alternatively, consider serving them as a dessert option at a dinner party — they are sure to impress your guests!
For storage, keep the peanut butter cups in an airtight container in the refrigerator. This will help maintain their freshness and flavor. They can typically last for up to two weeks in the fridge, but they’re so delicious that they might not last that long!
If you want to extend their shelf life, you can freeze the cups. Just layer them between sheets of parchment paper in a freezer-safe container. They can be stored this way for up to three months. When ready to enjoy, simply thaw them in the refrigerator for a couple of hours before serving.
Nutritional Benefits of No-Bake Peanut Butter Cups
Understanding the nutritional profile of the ingredients is important, especially if you’re mindful of your diet. Peanut butter, the star of this recipe, is rich in protein and healthy fats, making it a satisfying treat that also provides energy. It’s also a good source of vitamins and minerals, such as vitamin E, magnesium, and potassium.
Dark chocolate, used for the outer layer, is also a beneficial addition. It contains antioxidants and is known to have heart-healthy properties when consumed in moderation. Including dark chocolate in your diet can contribute to improved heart health, better brain function, and may even enhance mood.
Together, these ingredients create a treat that not only satisfies sweet cravings but also provides nutritional benefits, making it a guilt-free indulgence in moderation.
Why This Recipe is Perfect for Any Occasion
One of the best aspects of these no-bake peanut butter cups is their versatility. They are perfect for a variety of events, whether you’re hosting a birthday party, holiday gathering, or simply enjoying a cozy night in. They’re an easy treat to whip up, requiring minimal effort and no baking, which makes them ideal for any occasion.
Additionally, this recipe is kid-friendly and encourages family bonding during preparation. Involving children in the process of mixing and assembling the cups can be a fun activity that creates lasting memories. Plus, they’ll love helping out in the kitchen and, of course, indulging in the final product!
Conclusion
In summary, these decadent no-bake peanut butter cups are a simple yet delicious treat that anyone can make and enjoy. The combination of rich dark chocolate and creamy peanut butter creates a delightful contrast that is hard to resist.
Making homemade treats not only allows you to control the ingredients but also adds a personal touch that can be shared with friends and family. The joy of creating these sweet delights and the satisfaction of enjoying them together is truly a rewarding experience.
So why not try your hand at this no-bake peanut butter cup recipe? You’ll be amazed at how easy it is to create a decadent dessert that will have everyone coming back for seconds!


