Introduction
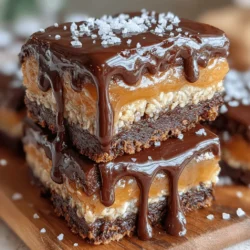
Decadent No-Bake Chocolate Peanut Butter Bars are the ultimate treat for those who crave a delightful balance of sweetness and wholesome ingredients. This easy recipe brings together the classic flavors of rich chocolate and creamy peanut butter, appealing to both children and adults alike. The best part? You can prepare these indulgent bars in as little as 15 minutes, plus a short chilling time, making it an ideal solution for busy schedules or spontaneous cravings.
Whether you’re seeking a nutritious post-workout snack, a crowd-pleasing dessert for a gathering, or simply a satisfying treat to indulge in after a long day, these No-Bake Chocolate Peanut Butter Bars check all the boxes. They are versatile enough to adapt to various dietary preferences and can be made with easily accessible ingredients found in most kitchens. In this article, we’ll delve into the essential ingredients that make these bars not only delicious but also nutritious, and guide you through the initial steps of creating this delightful dessert.
Understanding the Ingredients
Creamy Peanut Butter
Peanut butter is the star of this recipe, providing a rich, nutty flavor and a creamy texture that enhances the overall experience. Beyond its taste, peanut butter boasts a range of nutritional benefits. It is packed with protein, healthy fats, and essential vitamins and minerals, making it a great addition to a balanced diet. When selecting peanut butter, you’ll find that there are various types available—natural, processed, crunchy, and creamy. Natural peanut butter, which contains just peanuts and perhaps a pinch of salt, is often preferred for its wholesome quality, while processed varieties may include added sugars and hydrogenated oils.
Sweeteners: Honey vs. Maple Syrup
The sweetness in these bars comes from either honey or maple syrup, both of which bring their unique flavors and health benefits to the table. Honey is a natural sweetener with antimicrobial properties and a distinctive floral taste, while maple syrup, derived from the sap of maple trees, offers a rich, earthy flavor. Nutritionally, both options provide antioxidants and can be more beneficial than refined sugars. When choosing between the two, consider the flavor profile you prefer, as honey tends to be sweeter than maple syrup, so you may need to adjust the quantity accordingly.
Rolled Oats: A Nutritious Base
Rolled oats serve as a wholesome base for the bars, adding texture and nutritional value. Rich in fiber, vitamins, and minerals, oats are known for their heart-healthy benefits, including lowering cholesterol levels and stabilizing blood sugar. They also play a crucial role in binding the ingredients together, ensuring that your bars hold their shape once chilled. Opt for old-fashioned rolled oats for this recipe, as they provide the perfect consistency and chewiness.
Unsweetened Cocoa Powder
Cocoa powder is another key ingredient that contributes to the rich chocolate flavor of the bars. It’s packed with antioxidants, particularly flavonoids, which have been linked to numerous health benefits, including improved heart health and brain function. When selecting cocoa powder, it’s essential to choose unsweetened varieties to control the sweetness of your bars effectively. Sweetened cocoa powders, while convenient, can overpower the delicate balance of flavors in this recipe.
Vanilla Extract and Salt
A splash of vanilla extract enhances the overall flavor profile of the bars, adding a subtle sweetness and aromatic quality. It’s a common ingredient in many dessert recipes, and its role in elevating other flavors should not be underestimated. Additionally, a pinch of salt is key to balancing the sweetness of the honey or maple syrup and the richness of the peanut butter and chocolate. This contrast will elevate the taste experience and ensure that every bite is perfectly balanced.
Dark Chocolate Chips
To top off these delectable bars, dark chocolate chips are recommended for their intense flavor and health benefits. Dark chocolate is rich in antioxidants and has been associated with various health benefits, including improved heart health and enhanced mood. When choosing chocolate chips, look for varieties with a high cocoa content (70% or more) for the best flavor and health benefits. If you’re catering to dietary restrictions, there are also excellent dairy-free options available that maintain the delightful taste without compromising on quality.
Coconut Oil
Coconut oil plays a critical role in this recipe, particularly in the chocolate topping. It helps to melt and solidify the chocolate, giving the bars a smooth and glossy finish. In addition to its functional benefits, coconut oil is known for its medium-chain triglycerides (MCTs), which can provide a quick source of energy. This versatile ingredient not only enhances texture but also contributes a subtle coconut flavor that complements the other ingredients beautifully.
Step-by-Step Guide to Making No-Bake Chocolate Peanut Butter Bars
Preparing the Base Mixture
Begin making your Decadent No-Bake Chocolate Peanut Butter Bars by preparing the base mixture. In a large mixing bowl, combine the creamy peanut butter and your choice of sweetener—honey or maple syrup. It’s crucial to use a peanut butter that is well-stirred and free of any separation. This ensures that the mixture comes together smoothly. For best results, consider warming the peanut butter slightly in the microwave; this will make it easier to mix and create a uniform consistency.
Once the peanut butter and sweetener are combined, stir them together until they are fully incorporated. The mixture should be creamy and cohesive. If it feels too thick, you can add a small splash of coconut oil to help achieve the desired consistency. The goal is to create a smooth, spreadable mixture that will serve as the foundation for your bars.
Incorporating Dry Ingredients
After preparing the base mixture, it’s time to incorporate the dry ingredients, which include rolled oats, unsweetened cocoa powder, and a pinch of salt. Adding these ingredients gradually is essential for even flavor distribution. Start by sifting in the cocoa powder to avoid any clumps, then fold in the rolled oats and salt.
Mix thoroughly using a spatula or wooden spoon, ensuring that the dry ingredients are evenly distributed throughout the peanut butter mixture. This step is crucial, as improper mixing may lead to uneven flavor and texture in the finished bars. Pay attention to the consistency; the mixture should be thick but pliable, holding together well without being overly dry. If you find that it is too crumbly, a bit more peanut butter or a drizzle of coconut oil can help bind the ingredients together.
As you combine the ingredients, be mindful of common mistakes. Avoid overmixing, as this can lead to a tough texture. Instead, gently fold the ingredients until they are just combined, ensuring that each component is well integrated while maintaining a light and airy consistency.
With these initial steps complete, you’ll have a rich and flavorful base ready to transform into the indulgent No-Bake Chocolate Peanut Butter Bars that are sure to impress anyone who takes a bite. Stay tuned for the next section, where we will explore the process of shaping and chilling your bars for that perfect finish.
Pressing into the Pan
Once you’ve mixed your peanut butter and oat mixture to perfection, it’s time to press it into the pan. To ensure an even spread, use a flat spatula or the back of a measuring cup. Start by placing spoonfuls of the mixture across the base of your prepared pan, then gently press down in the center and work your way to the edges. This technique helps to avoid any air pockets that can result in uneven bars.
Utilizing parchment paper in this step is crucial for easy removal later on. Line your pan with parchment, allowing some overhang on the sides. This will create a handy lift-off mechanism once the bars are set. The parchment paper also prevents the mixture from sticking to the pan, ensuring a clean release and perfect presentation.
Melting the Chocolate Topping
The next step involves melting the chocolate for the topping, which adds a rich layer of flavor. To melt chocolate without burning, use a double boiler method. Fill a small saucepan with water and bring it to a simmer. Then, place a heatproof bowl on top, ensuring it doesn’t touch the water. Add your chocolate to the bowl and stir gently until smooth. This method allows for gentle heating, reducing the risk of burning.
If you don’t have a double boiler, an alternative is to use the microwave. Place the chocolate in a microwave-safe bowl and heat it in 30-second intervals, stirring in between. This helps distribute the heat evenly and prevents scorching. Once melted, let it cool slightly before pouring it over the pressed peanut butter base.
Topping the Bars
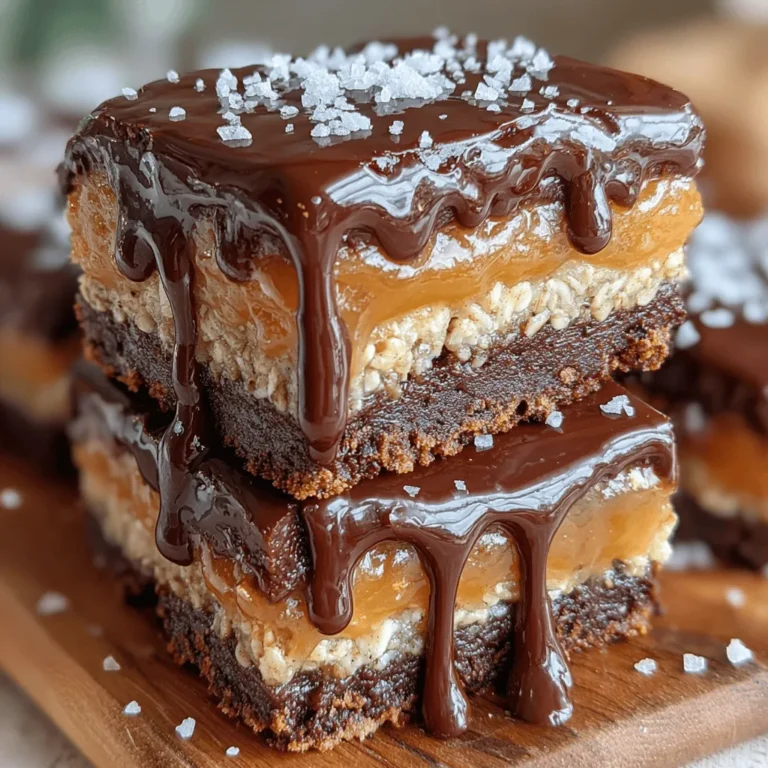
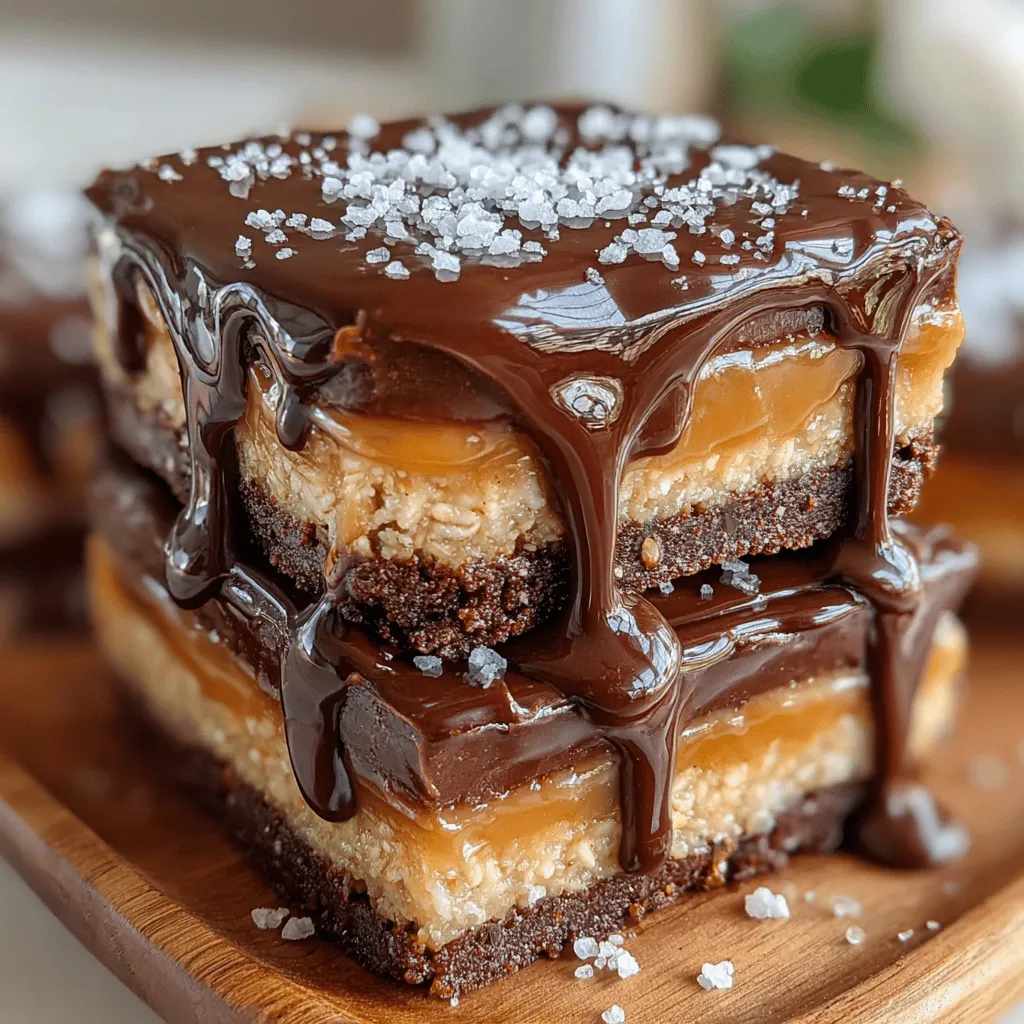
As you pour the melted chocolate over the bars, use a spatula to spread it evenly across the surface. An even layer not only enhances the aesthetic appeal but also ensures that every bite is balanced with chocolatey goodness. For an extra touch of flavor and texture, consider adding toppings such as chopped nuts, sea salt, or even a sprinkle of flaked coconut. These additions can elevate your bars from simple to spectacular, providing that delightful contrast of textures.
Chilling and Setting
After topping the bars with chocolate, it’s time for the crucial chilling phase. Place the pan in the refrigerator for at least 1-2 hours to allow the bars to firm up. This step is vital because it enables the peanut butter layer to set properly, ensuring clean cuts when you’re ready to serve. If you’re in a hurry, you can place them in the freezer for about 30-45 minutes, but keep an eye on them to avoid freezing.
Allowing the bars to chill thoroughly not only helps with texture but also enhances the flavors. The chocolate topping will harden, creating a delightful snap when you take a bite, while the peanut butter base will become firm yet creamy.
Cutting and Serving
Once your bars are well-chilled and set, it’s time to cut them into uniform pieces. Using a sharp knife, start by lifting the bars out of the pan using the parchment overhang. Place them on a cutting board and slice them into squares or rectangles, depending on your preference. For clean cuts, wipe the knife with a damp cloth between slices.
When it comes to serving, these bars are incredibly versatile. They make for a perfect afternoon snack, a post-workout treat, or a delightful dessert at a gathering. Pair them with a glass of almond milk or a scoop of vanilla ice cream for an indulgent experience. For a sophisticated touch, consider serving them on a decorative platter, garnished with fresh berries or a drizzle of extra chocolate.
Nutritional Information
Understanding the nutritional profile of your treats can be beneficial, especially when you’re trying to maintain a balanced diet.
Breakdown of Calories and Macros
Each bar contains approximately 200 calories, with a macronutrient breakdown of about 10g of protein, 12g of carbohydrates, and 15g of fats. These bars are rich in healthy fats from the peanut butter, providing long-lasting energy without the sugar crash often associated with traditional desserts.
Benefits of Ingredients in the Recipe
The key ingredients in these bars not only contribute to their delicious flavor but also offer numerous health benefits. Peanut butter is a great source of protein and healthy fats, promoting satiety and muscle recovery. Oats provide fiber, which aids digestion and helps to keep you feeling full longer. Dark chocolate, especially when used in moderation, is packed with antioxidants and can improve heart health. By choosing high-quality ingredients, these no-bake bars become a guilt-free indulgence that can fit well into a nutritious lifestyle.
Creative Variations on the Recipe
One of the best aspects of the Decadent No-Bake Chocolate Peanut Butter Bars is their adaptability. You can easily tweak the recipe to suit your taste preferences or dietary needs.
Flavor Add-ins
If you’re looking to add some variety, consider incorporating flavor add-ins. A teaspoon of cinnamon can add warmth, while a shot of espresso powder can enhance the chocolate flavor and provide a caffeine boost. If you enjoy experimenting with nut butters, feel free to substitute the peanut butter with almond or cashew butter for a different taste profile.
Dietary Adaptations
For those with dietary restrictions, this recipe can be easily modified. To make it gluten-free, ensure that you use certified gluten-free oats. If you need a vegan option, substitute honey with maple syrup or agave nectar. Additionally, if you or someone you know has nut allergies, consider using sunflower seed butter as an alternative. These adaptations maintain the integrity of the bars while catering to various dietary needs.
Conclusion
In conclusion, Decadent No-Bake Chocolate Peanut Butter Bars are not only easy to make but also provide a delightful balance of flavor and nutrition. This recipe is adaptable, allowing for personal touches and variations to suit different dietary needs and preferences. With their rich taste and satisfying texture, these bars are sure to become a favorite in your home. Whether enjoyed as a dessert or a snack, they deliver on both taste and health, making them a must-try for anyone looking to indulge in a guilt-free treat.
So gather your ingredients, follow the steps, and get ready to enjoy these delectable bars that will impress family and friends alike. They are perfect for any occasion, and once you try them, you might just find that they become a staple in your dessert repertoire!