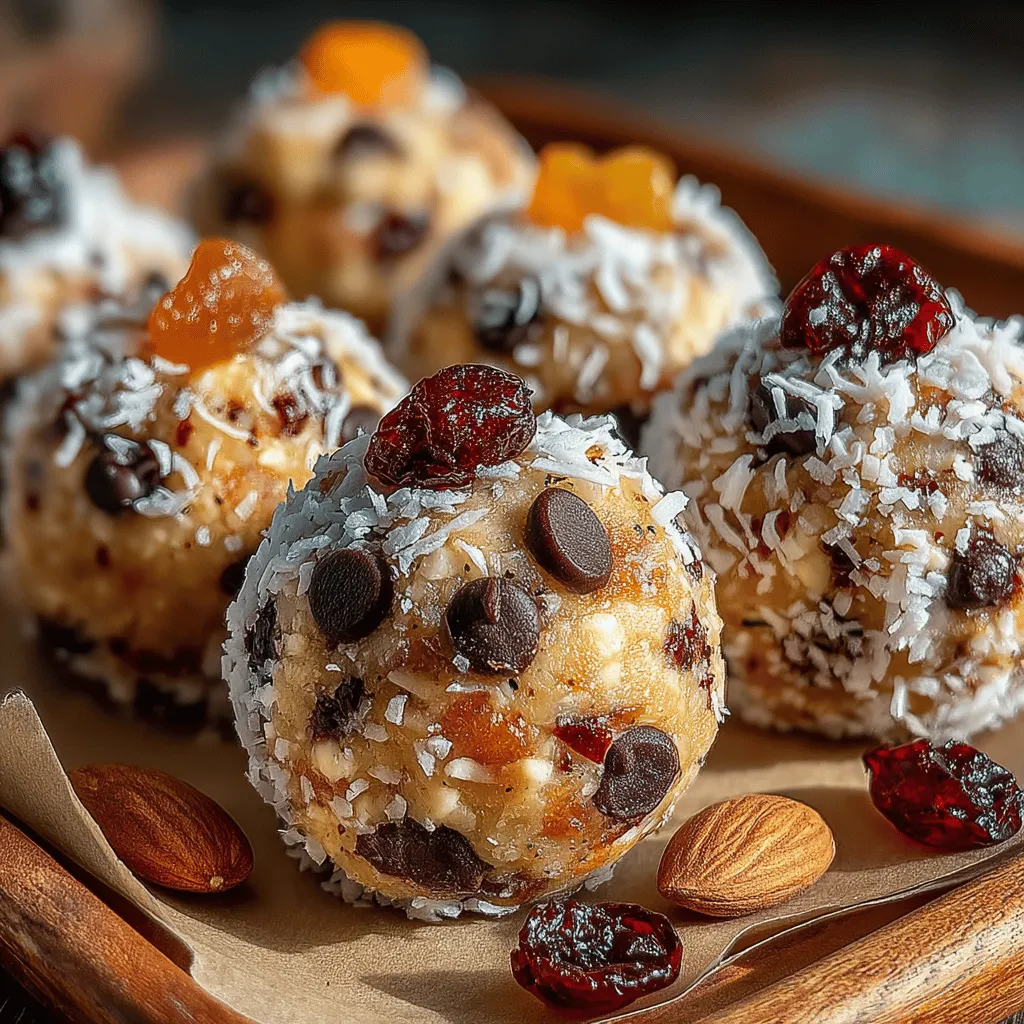
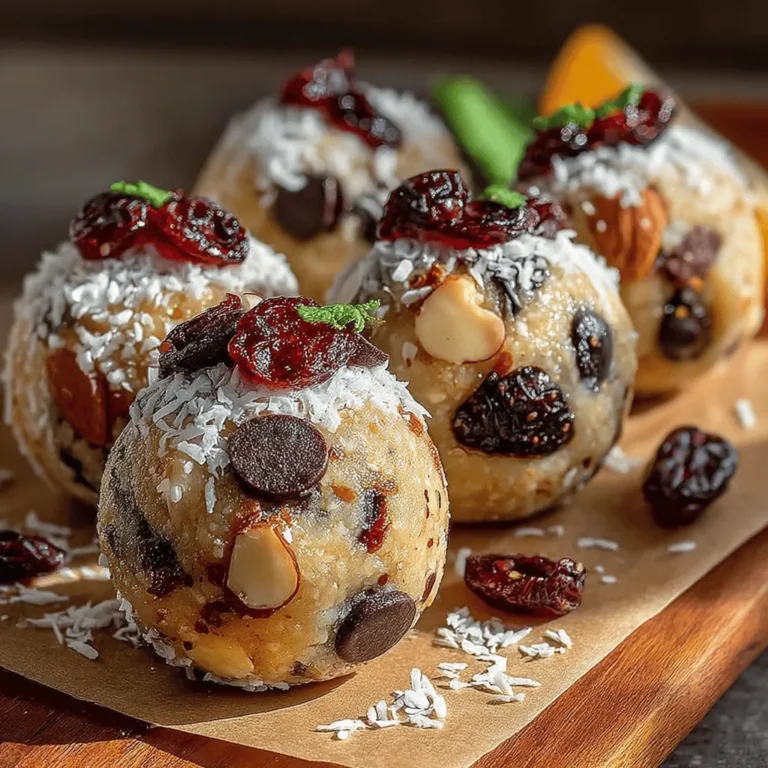
Nutty Bliss No-Bake Energy Balls: A Delicious and Healthy Snack
In recent years, no-bake energy balls have surged in popularity as a go-to healthy snack option, appealing to a wide range of dietary preferences. These bite-sized treats are not only easy to prepare but also packed with nutrients, making them ideal for busy individuals seeking wholesome alternatives to traditional snacks. Among the many variations that exist, Nutty Bliss No-Bake Energy Balls stand out for their delightful combination of flavors and textures, catering to those following vegan and gluten-free diets without sacrificing taste or satisfaction.
One of the most significant advantages of preparing snacks at home, such as Nutty Bliss No-Bake Energy Balls, is the ability to control ingredients. Unlike many store-bought snacks that often contain preservatives, artificial flavors, and excessive sugars, homemade versions allow you to create a wholesome treat tailored to your nutritional needs and preferences. With just a handful of simple ingredients, you can whip up a batch of these energy balls in no time, making them an excellent option for anyone—regardless of culinary skill level—looking to enjoy a nutritious snack.
Understanding the Ingredients
To create the perfect Nutty Bliss No-Bake Energy Balls, it’s essential to understand the role of each ingredient that contributes to both flavor and nutrition.
Rolled Oats: The Nutrient Powerhouse
At the base of this recipe lies rolled oats, a staple in many healthy diets. Rich in dietary fiber, rolled oats are known for their energy-boosting properties, making them an ideal choice for a pre- or post-workout snack. They help keep you feeling full longer, which can be beneficial for weight management. Additionally, the soluble fiber found in oats has been linked to lower cholesterol levels, further enhancing their appeal as a heart-healthy ingredient.
Natural Peanut Butter or Almond Butter: A Source of Healthy Fats
Next up are the nut butters—either peanut butter or almond butter. Both options provide a rich source of healthy fats and protein, making them an excellent addition to energy balls. Peanut butter is particularly high in protein and contains essential vitamins and minerals, such as magnesium and vitamin E. On the other hand, almond butter boasts a slightly higher fiber content and is rich in antioxidants. The choice between the two often comes down to personal preference, as both deliver their unique flavor profiles and nutritional benefits.
Honey vs. Maple Syrup: Natural Sweeteners Explained
For sweetness, this recipe offers a choice between honey and maple syrup, both of which are natural sweeteners. Honey imparts a floral note and is renowned for its various health benefits, including antibacterial properties and antioxidant content. Maple syrup, on the other hand, has a distinct caramel-like flavor and is lower on the glycemic index, making it a suitable option for those monitoring their blood sugar levels. Understanding these sweeteners’ unique qualities can help you tailor the flavor of your energy balls to your liking.
Mixed Nuts: A Crunchy Nutritional Boost
Incorporating mixed nuts into the energy balls not only adds a delightful crunch but also provides an additional layer of nutrition. Nuts are excellent sources of protein, healthy fats, and a variety of vitamins and minerals, contributing to overall health. They also contain antioxidants, which can help combat oxidative stress in the body. By including a mix of nuts, you can enjoy a range of flavors and textures, enhancing the overall snacking experience.
Dark Chocolate Chips: A Treat with Health Benefits
To take the Nutty Bliss No-Bake Energy Balls to the next level, dark chocolate chips are introduced as a delightful treat. Dark chocolate is not only delicious but also packed with antioxidants, particularly flavonoids, which have been shown to improve heart health. Additionally, the mood-boosting properties of dark chocolate can enhance your overall enjoyment of these energy balls, making them a guilt-free indulgence that satisfies both your sweet tooth and your health goals.
Shredded Coconut and Dried Fruits: Optional Additions for Flavor and Texture
Finally, shredded coconut and dried fruits can be included as optional ingredients to enhance both flavor and texture. Shredded coconut adds a tropical twist and a chewy texture, while dried fruits, such as cranberries or raisins, contribute natural sweetness and additional vitamins. These optional additions allow for customization, ensuring that your Nutty Bliss No-Bake Energy Balls can be tailored to your specific taste preferences and dietary needs.
Step-by-Step Instructions for Making Nutty Bliss No-Bake Energy Balls
Now that we’ve explored the ingredients, let’s dive into the step-by-step process of making Nutty Bliss No-Bake Energy Balls.
Mixing the Base
Begin by gathering all your ingredients in a mixing bowl. The base of your energy balls consists of rolled oats, your choice of nut butter (either peanut or almond), and your selected sweetener (honey or maple syrup). Start by adding the rolled oats to the bowl, followed by the nut butter. If you prefer a smoother consistency, gently warm the nut butter in the microwave for a few seconds to make it easier to mix.
Next, pour in the honey or maple syrup, ensuring that you achieve a balanced sweetness that aligns with your taste preferences. Using a spatula or your hands, mix the ingredients thoroughly until you achieve a sticky and cohesive consistency. The mixture should hold together well but not be overly wet. If it feels too dry, a splash of water or a bit more nut butter can help achieve the desired texture.
Once the base is well mixed, you can proceed to incorporate the additional ingredients, such as mixed nuts or dark chocolate chips, for added flavor and crunch. The beauty of this recipe lies in its versatility, allowing you to experiment with different combinations to create your own signature energy balls.
Stay tuned for the next part of this article, where we will continue with the remaining steps involved in forming and storing your Nutty Bliss No-Bake Energy Balls, as well as exploring various ways to enjoy this delicious and nutritious snack.

Incorporating Crunchy and Flavorful Ingredients
Now that you have your base mixture prepared, it’s time to take Nutty Bliss No-Bake Energy Balls to the next level by adding a delightful crunch and a burst of flavor. Begin by incorporating the chopped nuts, chocolate chips, and any optional ingredients you choose.
Step-by-Step Mixing
1. Chop Your Nuts: Using a sharp knife or a food processor, chop your selected nuts into small pieces. Common choices include almonds, walnuts, or pecans, but feel free to use any nuts you prefer. Aim for uniformity in size to ensure even distribution throughout the energy balls.
2. Add Chocolate Chips: Measure out your chocolate chips. Dark chocolate chips not only add a rich flavor but also provide health benefits. If you prefer a sweeter taste, milk chocolate chips work well. Fold in the chocolate chips gently, avoiding excessive agitation that may cause them to break apart.
3. Mix Optional Ingredients: This is the time to get creative. You can add in ingredients like shredded coconut, dried fruits such as cranberries or apricots, or even a sprinkle of cinnamon for an extra flavor kick. Ensure that these ingredients are evenly distributed throughout the mixture. This will enhance the texture and make every bite exciting.
4. Combine Thoroughly: Use a spatula or your hands to mix the ingredients together. Make sure the nuts and chocolate chips are evenly incorporated into the base mixture. A consistent blend is key to ensuring that each energy ball has the same delicious flavor profile.
Shaping the Energy Balls
Once your mixture is well combined, it’s time to shape the energy balls. This step can be as simple or as precise as you want it to be, depending on how neat you like your snacks to look.
Rolling Techniques
1. Size Matters: Decide on the size of your energy balls. A standard size is about one inch in diameter, but you can adjust based on your preference. If you’d like a quick snack, smaller balls are ideal, while larger ones can serve as a meal replacement or a more filling snack.
2. Keep Your Hands Moist: To prevent the mixture from sticking to your hands, slightly dampen them with water or a little cooking spray. This will make the rolling process smoother and more manageable.
3. Roll with Care: Take a small amount of the mixture and roll it between your palms to form a ball. Ensure that you apply consistent pressure to help the mixture hold together. If the mixture is too crumbly and not sticking, you can add a little more nut butter or honey to help bind it.
4. Neatness Counts: For a more uniform look, consider using a melon baller or a small cookie scoop. This will help you achieve evenly sized energy balls and make the process quicker.
Chilling for Optimal Texture
After shaping your energy balls, it’s crucial to chill them in the refrigerator for optimal texture and firmness.
The Importance of Chilling
1. Enhancing Texture: Chilling the energy balls not only helps them firm up but also allows the flavors to meld together beautifully. The nut butter will solidify slightly, providing a more enjoyable texture when you bite into them.
2. Chill Time: Place the energy balls on a parchment-lined baking sheet or in an airtight container. Refrigerate them for at least 30 minutes to an hour. If you’re in a hurry, even 15-20 minutes can make a difference.
3. Long-Term Storage: If you plan to make a larger batch, consider freezing some energy balls. Simply place them in a single layer on a baking sheet, freeze until solid, then transfer to a freezer-safe bag or container. They can last for up to three months in the freezer.
Storage Suggestions
Proper storage is essential to keep your Nutty Bliss No-Bake Energy Balls fresh and delicious.
Best Practices for Storage
1. Refrigeration: Store the chilled energy balls in an airtight container in the refrigerator. This will help maintain their texture and flavor for up to a week. They make for a great grab-and-go snack option during busy weekdays.
2. Freezing: For longer storage, freeze your energy balls. When ready to eat, simply take out the desired number and let them thaw at room temperature for a few minutes or pop them in the microwave for a few seconds.
3. Labeling: If you’re freezing multiple batches, consider labeling them with the date and any unique variations you’ve made. This will help you keep track of your delicious creations.
Nutritional Information
Understanding the nutritional content of your Nutty Bliss No-Bake Energy Balls can help you appreciate their health benefits.
Nutritional Breakdown
– Calories: Approximately 100-120 calories per energy ball, depending on the specific ingredients used.
– Protein: Each ball contains about 3-4 grams of protein, thanks to the nut butter and nuts.
– Fats: Healthy fats from nuts and nut butter contribute around 6-8 grams of fat, primarily unsaturated.
– Carbohydrates: Expect around 10-15 grams of carbohydrates, largely from oats and any added sweeteners or fruits.
Variations in Nutritional Content
Keep in mind that the nutritional values can vary based on ingredient substitutions. For instance, using almond butter instead of peanut butter or opting for a sugar-free sweetener will impact the calorie and sugar content. Always calculate based on your specific ingredients for the most accurate results.
Benefits of Nutty Bliss No-Bake Energy Balls
These energy balls are not just tasty; they offer several benefits that make them a fantastic addition to your diet.
Convenient and Quick Snack Option
Nutty Bliss No-Bake Energy Balls are perfect for those on-the-go moments. They can be prepared in advance, making them an ideal snack to take to work, school, or the gym. With a combination of healthy fats, fiber, and protein, they provide sustained energy without the crash associated with sugary snacks.
Versatile and Customizable Recipe
One of the best things about this recipe is its versatility. Feel free to modify the ingredients to suit your tastes or dietary needs. Use gluten-free oats for a gluten-free version, substitute different nut butters, or mix in your favorite seeds for added nutrition. This adaptability makes the energy balls suitable for various diets, including vegan, paleo, and keto.
Perfect for Pre-Workout Fuel
The balanced combination of carbohydrates, protein, and healthy fats makes these energy balls an excellent pre-workout snack. They provide the necessary energy to fuel your workout without weighing you down. Enjoy a couple of energy balls about 30 minutes before exercise for optimal results.
Conclusion
Nutty Bliss No-Bake Energy Balls are a delicious and nutritious snack that anyone can enjoy. With easy preparation, a variety of customizable options, and health benefits that support an active lifestyle, these energy balls are a perfect addition to your snack repertoire.
By incorporating wholesome ingredients and allowing for creativity in flavor and texture, this recipe not only satisfies your sweet tooth but also aligns with your health goals. Homemade snacks like these are invaluable for maintaining a healthy lifestyle, giving you control over the ingredients and flavors.
So, gather your ingredients, get mixing, and enjoy the delightful experience of creating your own Nutty Bliss No-Bake Energy Balls. Don’t forget to experiment with your variations, and share the joy of this nutritious treat with friends and family!


