
Apple Cider Cream Pie: A Seasonal Delight
As the leaves turn vibrant shades of orange and gold and the air becomes crisp, autumn beckons us to indulge in its seasonal delights. One of the most cherished aspects of fall is the bounty of apples, inspiring countless recipes that celebrate this versatile fruit. Among these delightful concoctions, the Apple Cider Cream Pie stands out as a unique twist on the traditional apple pie. This recipe combines the rich, warm flavors of apple cider with a velvety cream topping, creating a dessert that is both comforting and sophisticated.
Apple cider, with its sweet and slightly tart profile, serves as the star ingredient in this pie. Unlike conventional apple pies that primarily focus on sliced apples, this recipe elevates the experience by capturing the essence of apple cider in a creamy filling. The result is a dessert that not only pays homage to the classic apple pie but also adds a refreshing and luxurious layer of flavor that is perfect for fall gatherings or cozy family dinners.
Understanding the Ingredients
To create the perfect Apple Cider Cream Pie, it’s essential to understand the key components that make up this delightful dessert. The recipe can be broken down into three main parts: the pie crust, the apple cider filling, and the cream topping. Each component plays a crucial role in the overall flavor and texture of the pie, and using high-quality ingredients is vital for achieving the best results.
1. Pie Crust: A flaky, buttery crust is the foundation of any great pie. The primary ingredients for the crust include all-purpose flour, unsalted butter, salt, and sugar. The quality of the butter can significantly impact the flavor and texture of the crust, so opt for a high-fat, European-style butter if possible.
2. Apple Cider Filling: The star of this pie, apple cider, should be chosen with care. Look for a fresh, unfiltered cider that offers a robust apple flavor. The filling will also include spices like cinnamon and nutmeg, which add warmth and depth, along with cornstarch for thickening and butter for richness.
3. Cream Topping: Finally, the cream topping adds a luscious finish to the pie. Typically made from heavy cream and sugar, this topping can be flavored with vanilla or even a hint of apple brandy for an adult twist.
Using high-quality, fresh ingredients is essential for maximizing flavor in this recipe. The apple cider’s natural sweetness and the spices’ aromatic qualities will elevate the dessert, making it a memorable addition to your fall dessert repertoire.
Creating the Perfect Pie Crust
A successful apple cider cream pie begins with the perfect pie crust. Achieving a flaky and golden crust requires attention to detail and a few key techniques. Here’s a step-by-step guide to preparing the crust that will serve as the base for your pie:
1. Ingredients: Gather the following ingredients:
– 1 ½ cups all-purpose flour
– ½ cup unsalted butter, chilled and cut into small cubes
– 1 tablespoon granulated sugar
– ½ teaspoon salt
– 3 to 4 tablespoons ice water
2. Mixing the Ingredients: In a large mixing bowl, combine the all-purpose flour, sugar, and salt. Add the chilled butter cubes and use a pastry cutter or your fingers to work the butter into the flour until the mixture resembles coarse crumbs with pea-sized bits of butter remaining. This step is crucial, as the small pieces of butter will create the flaky layers in the crust.
3. Chilling the Dough: Once the butter is incorporated, gradually add the ice water, one tablespoon at a time, mixing gently with a fork until the dough begins to come together. Be careful not to overwork the dough, as this can lead to a tough crust. Gather the dough into a ball, flatten it into a disk, and wrap it in plastic wrap. Refrigerate for at least 30 minutes to allow the gluten to relax and the butter to firm up.
4. Rolling Out the Dough: After chilling, lightly flour your work surface and roll out the dough to about 1/8 inch thick, ensuring it is large enough to fit your pie dish. If the dough is too sticky, add a little more flour to your work surface and rolling pin. Transfer the rolled-out dough to your pie dish by carefully draping it over the rolling pin and then rolling it off into the dish.
5. Preventing a Soggy Bottom: To prevent a soggy bottom crust, consider pre-baking the crust (also known as blind baking). Prick the bottom of the crust with a fork to prevent bubbling, then line it with parchment paper and fill it with pie weights or dried beans. Bake in a preheated oven at 375°F (190°C) for about 15 minutes or until the edges are lightly golden. Remove the weights and parchment, and bake for an additional 5-7 minutes until the bottom is lightly browned.
6. Achieving a Golden Crust: The key to a perfectly golden crust is monitoring the baking time and temperature. If you notice the edges browning too quickly, cover them with aluminum foil to prevent burning. The crust should be golden brown and firm to the touch when done.
With the pie crust ready, you’re now set to embark on the next steps of crafting the apple cider filling that will transform your pie into a seasonal masterpiece. Stay tuned for the delicious details on how to prepare the filling and the cream topping that will crown your Apple Cider Cream Pie!
The Importance of Pre-Baking the Crust
One of the key steps in preparing a perfect Apple Cider Cream Pie is pre-baking the crust, also known as blind baking. This technique ensures that the crust achieves a beautiful golden brown color and a crisp texture, preventing it from becoming soggy once the filling is added. When you bake the pie crust before adding the filling, you also help to set the structure of the pie, which is essential for holding the creamy apple cider filling in place.
To blind bake your crust, begin by rolling out your pie dough to fit your pie dish. Press the dough into the dish, making sure to trim any excess hanging over the edges. Next, prick the bottom and sides of the crust with a fork to prevent bubbling during baking. Line the crust with parchment paper or aluminum foil and fill it with pie weights or dried beans to keep it from puffing up. Bake in a preheated oven at 375°F (190°C) for about 15-20 minutes, or until the edges are lightly golden.
Tips for Monitoring Baking Time and Temperature
Achieving that perfect golden brown crust requires careful attention to both baking time and temperature. Set your oven’s temperature to 375°F (190°C) and keep an eye on the crust as it bakes. The visual cues are essential: look for a light golden color around the edges. If you notice that the edges are browning too quickly, you can cover them with strips of aluminum foil to prevent burning while allowing the center to continue baking.
After the initial baking time, remove the weights and parchment paper or foil. Return the crust to the oven for an additional 5-10 minutes, or until the entire crust is uniformly golden. Always monitor closely during this final stage to ensure you don’t overbake. Once done, allow the crust to cool completely before pouring in the filling. This step is crucial, as a hot crust can cause the filling to cook too quickly, leading to an undesirable texture.
Cooling the Crust for Optimal Texture
Cooling the crust before adding the filling is vital for achieving the best texture. A warm crust may not only affect the integrity of the filling but can also lead to a soggy bottom. After removing the crust from the oven, place it on a wire rack to cool completely. This will allow air to circulate around the crust, helping it to cool evenly. Once cooled, it will provide a sturdy base for the creamy apple cider filling to rest upon.
Assembling the Apple Cider Cream Pie
Now that your crust is perfectly baked and cooled, it’s time to pour in the delicious apple cider filling. Carefully ladle the cooled filling into the crust, spreading it evenly to ensure that every slice contains that rich, creamy goodness. The filling should be slightly thickened but still pourable; if it’s too thick, it may not spread easily.
After pouring the filling, it’s essential to let the pie set in the refrigerator. Ideally, you should allow it to chill for at least 4 hours, or overnight if possible. This chilling time is crucial as it allows the flavors to meld beautifully and helps the filling achieve the right consistency. The longer it sits, the better the flavors will develop, making each bite a delightful experience.
Whipping Up the Cream Topping
While your pie is chilling, you can prepare the luscious cream topping that will crown your Apple Cider Cream Pie. For the cream topping, you’ll need the following ingredients:
– 1 cup heavy whipping cream
– 1/4 cup powdered sugar (adjust based on your sweetness preference)
– 1 teaspoon vanilla extract
Step-by-Step Instructions for Whipping the Cream
1. Chill Your Equipment: To achieve the best results, start by chilling your mixing bowl and beaters in the refrigerator for about 15-20 minutes before whipping the cream. Cold equipment helps the cream whip up faster.
2. Combine Ingredients: In your chilled bowl, combine the heavy whipping cream, powdered sugar, and vanilla extract. The powdered sugar adds sweetness and also helps stabilize the whipped cream.
3. Whip to Stiff Peaks: Using an electric mixer on medium-high speed, begin whipping the cream. After about 2-3 minutes, you will notice soft peaks forming. Continue whipping until stiff peaks form; this means that when you lift the beaters, the cream holds its shape well. Be careful not to overwhip, as this can lead to a grainy texture.
4. Optional Flavor Enhancement: For an added depth of flavor, consider incorporating apple brandy into your whipped cream. About 1 tablespoon should suffice, but feel free to adjust based on your taste preferences. This addition will enhance the apple cider flavor of your pie, making each bite even more delightful.
Final Touches: Presentation and Serving Suggestions
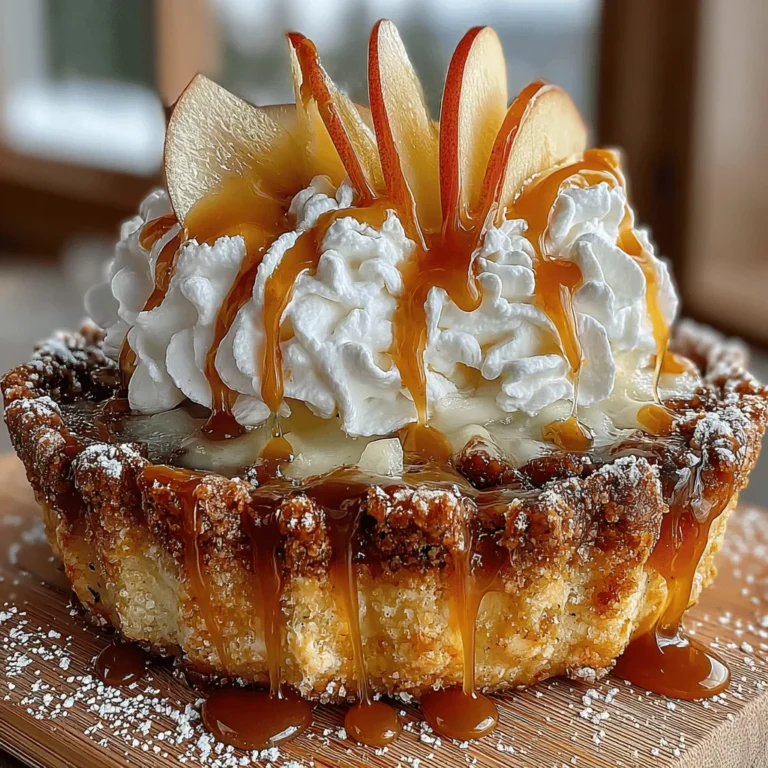
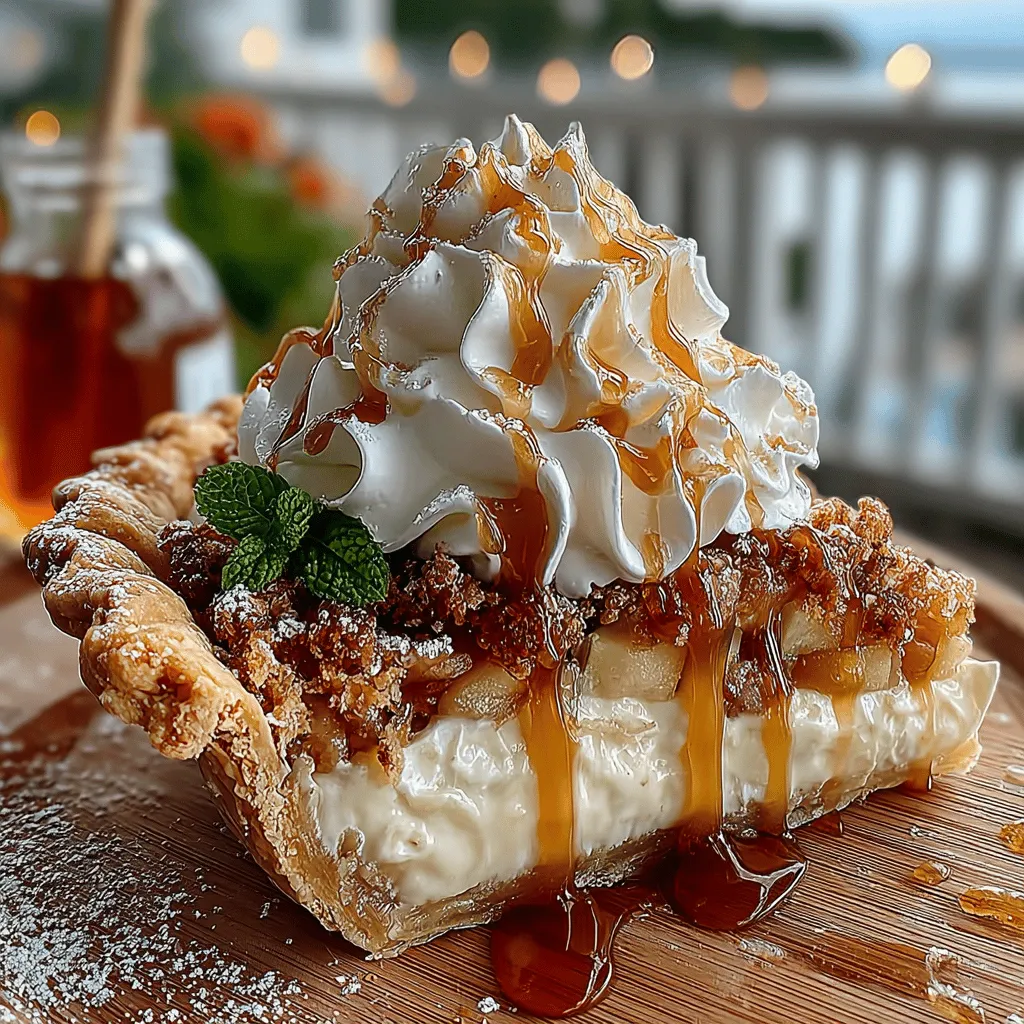
With your pie fully assembled and the cream topping perfectly whipped, it’s time for the final touches. Consider drizzling caramel sauce over the top of the whipped cream or swirling it through for an eye-catching presentation. The caramel not only adds a beautiful visual element but also enhances the flavor, giving a sweet contrast to the spiced cider filling.
When it comes to serving, slice your Apple Cider Cream Pie into generous portions and serve it chilled. This pie pairs wonderfully with a warm cup of coffee, a spiced chai tea, or even a glass of apple cider for a delightful autumn experience. The combination of flavors will create a warm, comforting atmosphere, perfect for sharing with family and friends during your fall gatherings.
Conclusion
In summary, the Apple Cider Cream Pie is not just a dessert; it’s a celebration of fall flavors that brings warmth and joy to any table. The combination of a flaky, perfectly baked crust, a creamy apple cider filling, and a light whipped cream topping creates a harmonious blend that is both satisfying and indulgent.
We encourage you to experiment with this recipe and make it a staple for your seasonal gatherings. Whether you’re hosting a holiday dinner, a cozy family gathering, or simply treating yourself, this pie is sure to impress. Enjoying homemade desserts allows you to connect with seasonal flavors and traditions, creating memories that are as sweet as the pie itself. So roll up your sleeves, gather your ingredients, and let the comforting aroma of apple cider fill your kitchen as you create this delightful dessert.